Getting Started
Getting Started
This section covers how to run the application for the first time - from installation to first run.
Requirements
We highly recommend that you consider both options below (the Docker route and the local route) in case you run into problems at a later stage.
The Docker route is the fastest and easiest to set up, so you should definitely start with that!
Before you start installing anything, make sure you have the below installed.
- Git: Used to download the code and make contributions.
- Docker (Recommended)
- Local / Manual Setup
Installing Docker
The section below will guide you through installing Docker on your operating system.
- Windows (Recommended)
- macOS
- Linux
-
Install a POSIX environment
- WSL (Recommended)
- Git Bash
- CMD / Powershell
We highly recommend using WSL2.While Docker Desktop can run without it, WSL2 gives a much smoother experience and works best with the POSIX-oriented scripts in Img2Num. WSL, in general, is much faster than Hyper-V is with Docker.
Run This in Powershellwsl --installThis will install Ubuntu by default. You can use other distributions if you prefer. See Microsoft's documentation to find out more about installing WSL.
If you don't have WSL (or a POSIX shell), it is recommended that you at least download Git Bash or another POSIX shell. WSL is still faster, so you should consider installing it.
This is because Img2Num's code is best suited for POSIX shells. We have tried our best to support other shells, but there is a chance that you will run into problems if you don't use a POSIX shell because most of our developers use POSIX shells.
If you are using CMD or PowerShell, you can still run the same Docker commands (although they will be slower), but POSIX shells like WSL/Git Bash are recommended for the best compatibility with Img2Num scripts.
-
Download and install Docker Desktop from https://www.docker.com/products/docker-desktop.
- WSL (Recommended)
- Git Bash
- CMD / Powershell
During installation, make sure:
- "Use WSL2 instead of Hyper-V" is selected.
- Your preferred Linux distribution (e.g., Ubuntu) is enabled.
During installation, make sure:
- "Use Hyper-V of WSL2 instead" is selected.
After installation, do the following:
- Open Docker Desktop.
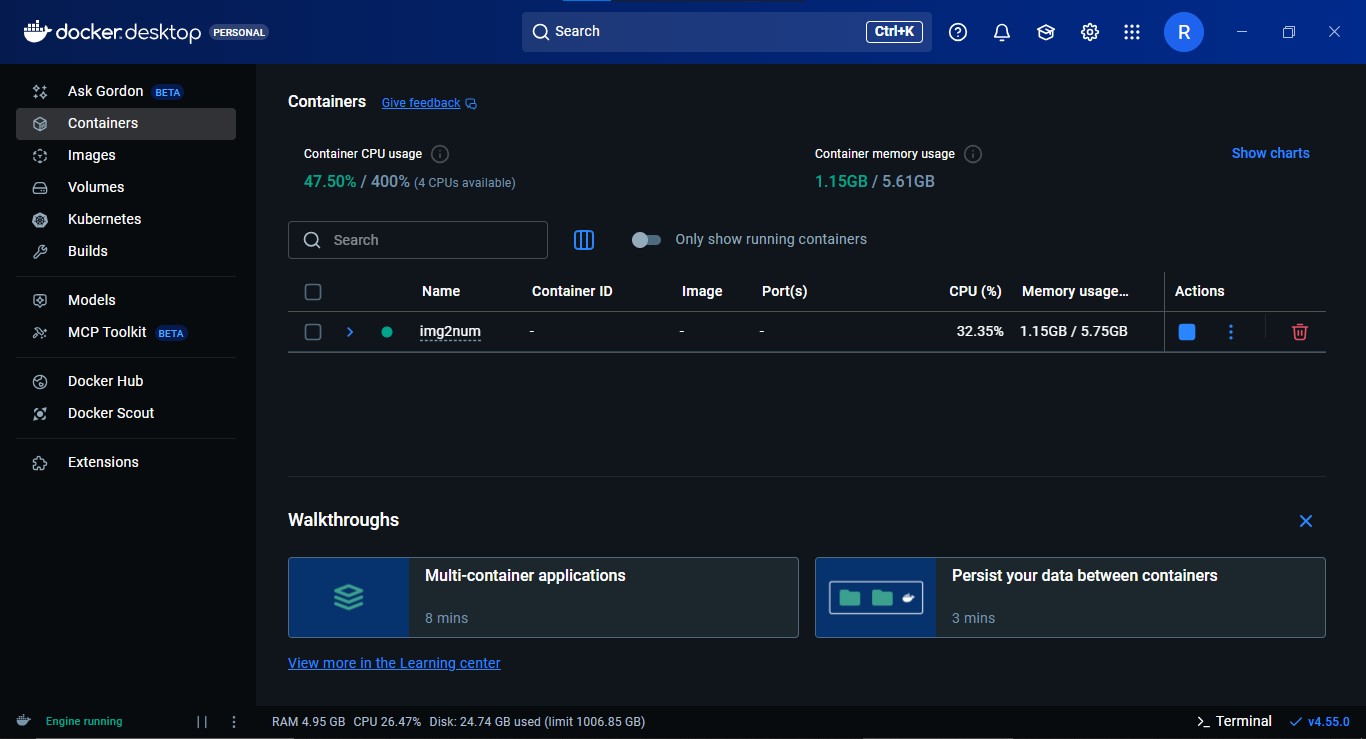
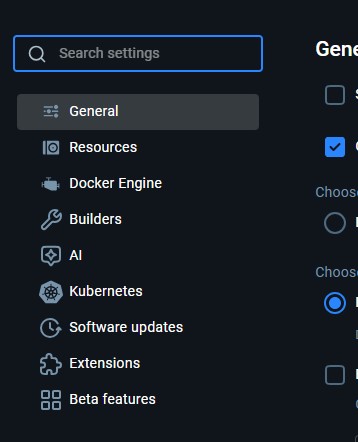
- Click "Settings" in the top right of the screen.

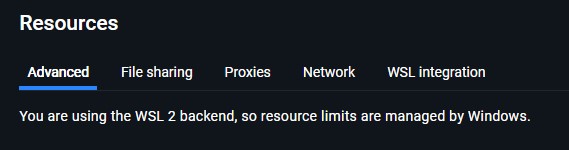
- Click "Resources" in the sidebar.
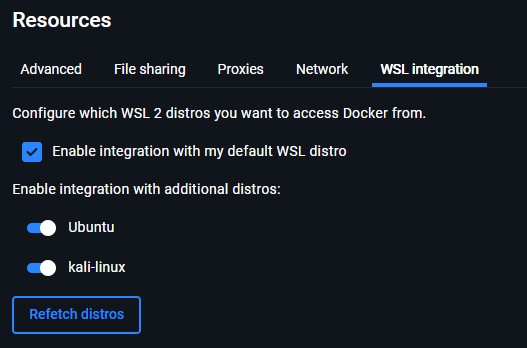
- Select "WSL Integration".
- Select "Enable integration with my default WSL distro" and select the other distributions you want to enable Docker for.
During installation, make sure:
- "Use Hyper-V of WSL2 instead" is selected.
After installation, do the following:
- Open Docker Desktop.
- Click "Settings" in the top right of the screen.
- Click "Resources" in the sidebar.
- Select "WSL Integration".
- Select "Enable integration with my default WSL distro" and select the other distributions you want to enable Docker for.
-
Verify the installation in your WSL terminal or Git Bash:
docker --version
docker compose version
Make sure to keep Docker Desktop open while you're using Docker because it needs to be open to run containers.
Installing Docker on macOS
-
Download and install Docker Desktop from https://www.docker.com/products/docker-desktop.
-
Open Docker Desktop and ensure it is running.
-
Verify installation in Terminal:
docker --version
docker compose version
Installing Docker on Linux
-
Install Docker and Docker Compose via your package manager. For Ubuntu/Debian:
sudo apt update
sudo apt install -y docker.io docker-compose
sudo systemctl enable --now docker
sudo usermod -aG docker $USER
You may need to log out and back in for the group change to take effect.
-
Verify installation:
docker --version
docker compose version
- Node.js version 20.0 or higher
- When installing Node.js, you are recommended to check all checkboxes related to dependencies.
- Emscripten version 4.0.10 or higher
- This is used to compile the C++ to WebAssembly.
- CMake
- The build system for C++.
- Python version 3.8 or higher
- Emscripten requires this for its tooling and scripts.
These all need to be set in your PATH variable and must be accessible in your terminal for Img2Num to run properly.
How to check for and set PATH variables
- Windows
- macOS
- Linux
Check if a tool is in your path
Open Command Prompt or Powershell by pressing the windows button + cmd/powershell, then run:
git --version
node --version
python --version
cmake --version
emcc -v
If the command prints a version, it’s already in PATH. If it says “command not found” or similar, you need to add it.
Not in your path?
For Windows, this link will explain how to add variables to your PATH.
Check if a tool is in your path
Open Terminal, then run:
git --version
node --version
python --version
cmake --version
emcc -v
If the command prints a version, it’s already in PATH. If it says “command not found” or similar, you need to add it.
Not in your path?
For macOS, this link will explain how to add variables to your PATH.
Check if a tool is in your path
Open Terminal, then run:
git --version
node --version
python --version
cmake --version
emcc -v
If the command prints a version, it’s already in PATH. If it says “command not found” or similar, you need to add it.
Not in your path?
For Linux, this link will explain how to add variables to your PATH.
Cloning the repository
This step will guide you through downloading (cloning) the repository's code into a folder, named Img2Num.
# Clone the repository into a folder named `Img2Num`
git clone https://github.com/Ryan-Millard/Img2Num.git
Installing dependencies
This section will help you install all the required dependencies.
You can choose to only install the dependencies for one portion of the app, but it is recommended that you install the dependencies for both if you want all the functionality.
- Both Concurrently
- Main App Only
- Docs Site Only
- Docker (Recommended)
- Local / Manual Setup
In order to call the img2num script that we will be using for Docker in the following sections,
you need to stay in the root directory of the project since that is where the file is.
You can skip using the img2num script if you prefer using plain Docker commands -
the script is intended to help developers who don't want to use Docker directly.
It is recommended that you read the contents of the file for examples of the commands you can use.
- Bash (Linux / macOS / WSL / Git Bash)
- Batch (Windows CMD)
- PowerShell
cd Img2Num
chmod +x ./img2num
./img2num npm install

./img2num npm install --prefix ./docs
./img2num -h # or --help (they are are the same)
cd Img2Num
.\img2num.bat npm install

.\img2num.bat npm install --prefix ./docs
.\img2num.bat -h REM or --help (they are are the same)
cd Img2Num
.\img2num.ps1 npm install

.\img2num.ps1 npm install --prefix ./docs
.\img2num.ps1 -h # or --help (they are are the same)
# Install main app's dependencies
cd Img2Num
npm install

# Install documentation site's dependencies
npm install --prefix ./docs
- Docker (Recommended)
- Local / Manual Setup
- Bash (Linux / macOS / WSL / Git Bash)
- Batch (Windows CMD)
- PowerShell
cd Img2Num
chmod +x ./img2num
./img2num npm install
cd Img2Num
.\img2num.bat npm install
cd Img2Num
.\img2num.ps1 npm install
cd Img2Num
npm install
- Docker (Recommended)
- Local / Manual Setup
- Bash (Linux / macOS / WSL / Git Bash)
- Batch (Windows CMD)
- PowerShell
cd Img2Num
chmod +x ./img2num
./img2num npm install --prefix ./docs
cd Img2Num
.\img2num.bat npm install --prefix ./docs
cd Img2Num
.\img2num.ps1 npm install --prefix ./docs
cd Img2Num
npm install --prefix ./docs
Docs Search (Algolia DocSearch)
The documentation site ships with Algolia DocSearch already configured.
You do not need Algolia credentials to run the docs locally. If you do not provide credentials,
the search box will be inactive in local development, which is expected.
You can ignore this feature as it only affects production builds.
Environment variables (.env.example)
The docs site includes a docs/.env.example file to document the optional Algolia environment variables. For local development, you can safely leave these values blank, and you should never commit real secrets to the repository.
Running the app for the first time
This section will help you run both the main application and the documentation site for the first time.
- Both Concurrently
- Main App Only
- Docs Site Only
- Docker (Recommended)
- Local / Manual Setup
- Bash (Linux / macOS / WSL / Git Bash)
- Batch (Windows CMD)
- PowerShell
From the project's root, run:
./img2num dev:all
You can always run ./img2num -h or ./img2num --help to see a full list of available commands and scripts.
It is a wrapper script that allows you to use scripts defined in package.json
and docs/package.json.
From the project's root, run:
.\img2num.bat dev:all
You can always run .\img2num.bat -h or .\img2num.bat --help to see a full list of available commands and scripts.
It is a wrapper script that allows you to use scripts defined in package.json
and docs/package.json.
From the project's root, run:
.\img2num.ps1 dev:all
You can always run .\img2num.ps1 -h or .\img2num.ps1 --help to see a full list of available commands and scripts.
It is a wrapper script that allows you to use scripts defined in package.json
and docs/package.json.
From the project's root, run:
npm run dev:all
You can always run npm run help to see a full list of available commands and scripts which allows you to fuzzy find specific scripts.
- Docker (Recommended)
- Local / Manual Setup
- Bash (Linux / macOS / WSL / Git Bash)
- Batch (Windows CMD)
- PowerShell
From the project's root, run:
./img2num dev
From the project's root, run:
.\img2num.bat dev
From the project's root, run:
.\img2num.ps1 dev
From the project's root, run:
npm run dev
The documentation site works like an isolated app. As a result, there are two options for each depending on where you are in the file system.
- Docker (Recommended)
- Local / Manual Setup
- Bash (Linux / macOS / WSL / Git Bash)
- Batch (Windows CMD)
- PowerShell
./img2num docs start
.\img2num.bat docs start
.\img2num.ps1 docs start
From the project's root:
npm run docs start
From inside the docs/ folder:
npm run start
Further Information
You may want to have a look at the Project Scripts section now, but make sure that you understand and agree with Img2Num's License, Code of Conduct and Contribution Guidelines.